


Step 1. Launch Entire VM Restore Wizard
To launch the Entire VM Restore wizard, do the following:
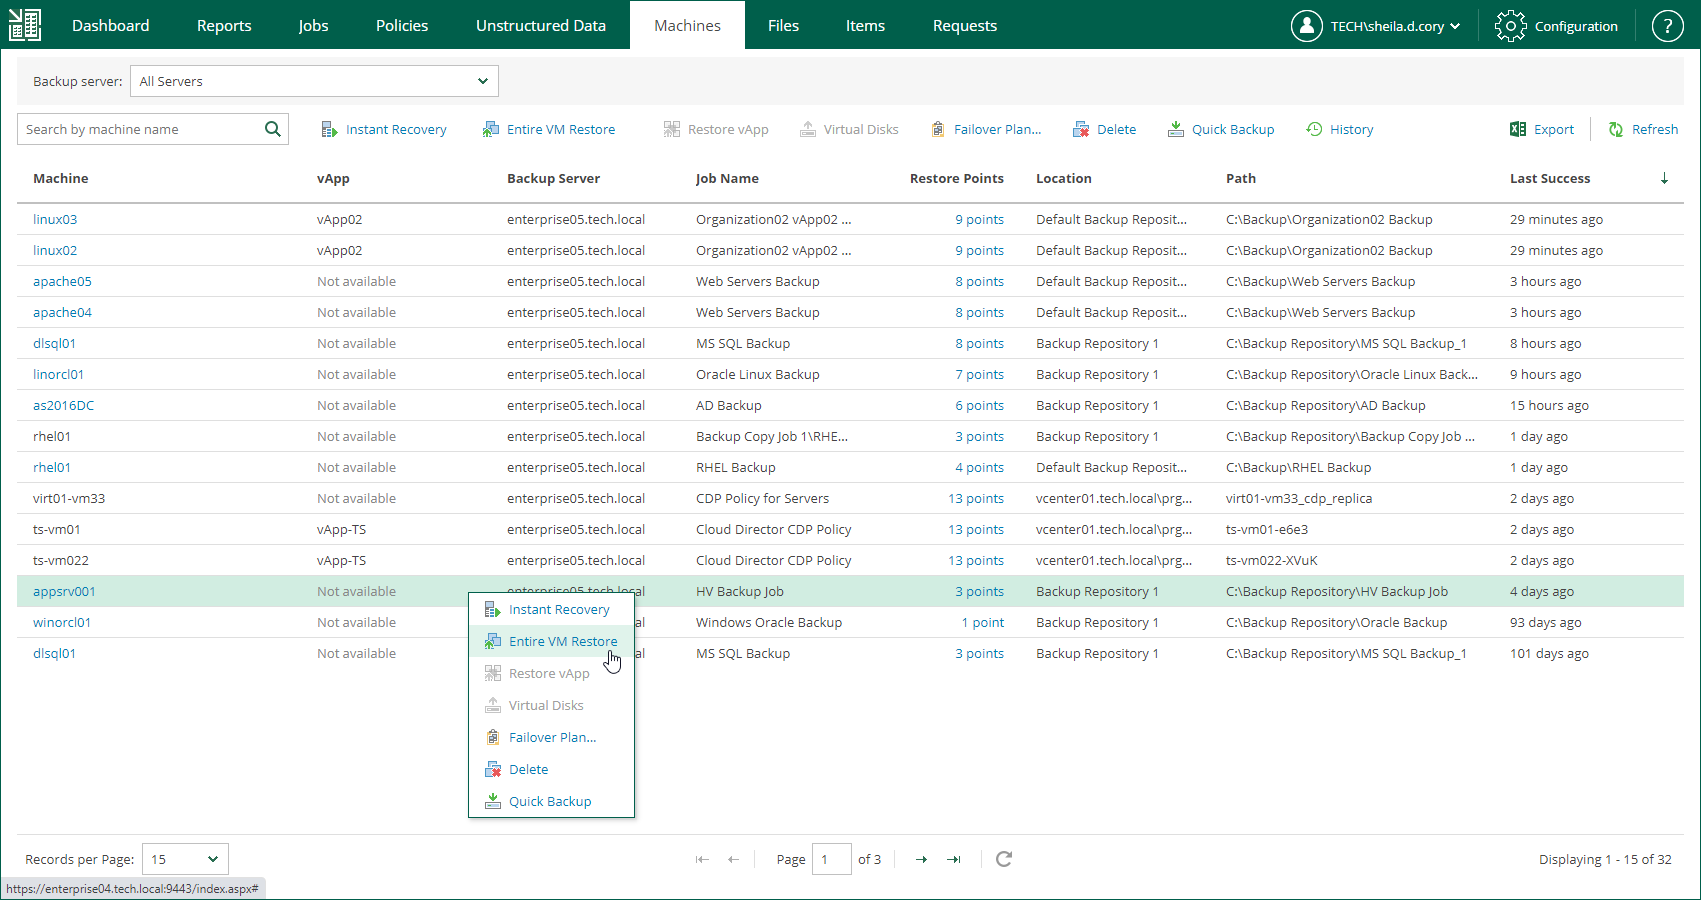
- Open the Machines tab and select the necessary Microsoft Hyper-V VM from the list.
- On the toolbar, click Restore.
Alternatively, you can right-click the VM and select Entire VM Restore.
Step 2. Select Restore Point
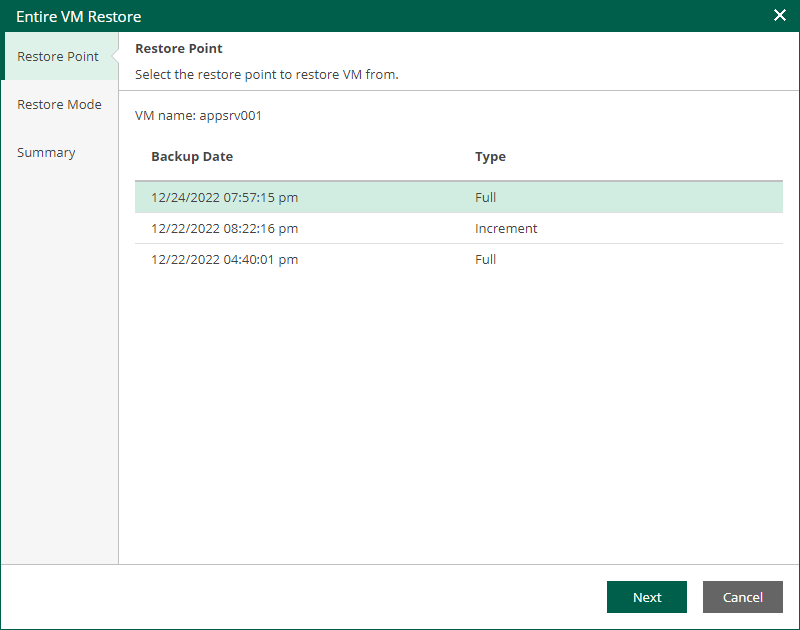
At the Restore Points step of the wizard, select a VM restore point for which you want to perform entire VM restore.
Step 3. Select Restore Mode
At the Restore mode step, specify a destination for VM recovery and select whether you want to recover VM tags.
When you perform entire VM restore using Veeam Backup Enterprise Manager, Veeam Backup & Replication automatically selects a backup proxy over which VM data must be transported to the source datastore. You can select a backup proxy manually from the Entire VM Restore wizard in the Veeam Backup & Replication console. For more information, see the Select Restore Mode section of the Veeam Backup & Replication User Guide.
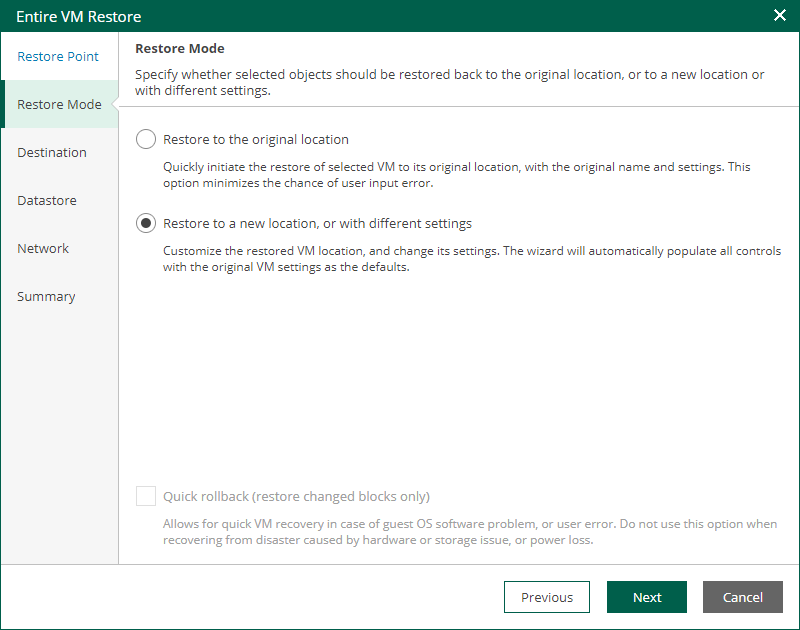
- Select a restore mode:
- Restore to the original location — select this option to restore the VM with initial settings and to the original location. If this option is selected, you will pass directly to the Summary step of the wizard.
During restore to the original location, Veeam Backup & Replication restores only those disks that are included in the backup file. This means that after the restore finishes, you do not have to update existing jobs which process the original VMs.
- Restore to a new location or with different settings — select this option to restore the VM to a new location, or to any location but with different settings. If this option is selected, the Entire VM Restore wizard will include additional steps for customizing VM settings.
During restore to a new location, Veeam Backup & Replication creates new VMs. If you want to process the restored VMs, you must edit existing jobs or create new jobs to process the restored VMs. If you restore VMs with the same name and to the same folder as the original VMs, Veeam Backup & Replication deletes the original VMs. In this case, you must edit existing jobs to exclude original VMs from them.
NOTE |
If you need to run an executable script for the VM before restoring it to the production environment, you can use the Veeam Backup & Replication console to perform entire VM restore in the Staged restore mode. For more information, see the Select Restore Mode section of the Veeam Backup & Replication User Guide. |
- [For VM restore to the original location] Select the Quick rollback check box to perform incremental restore for the VM. Veeam Backup & Replication will query Changed Block Tracking to get data blocks that are required to revert the VM to the restore point, and will restore only these data blocks. Quick rollback significantly reduces the restore time and has little impact on the production environment.
Enable this option if you restore a VM after a problem that occurred at the level of the VM guest OS: for example, there has been an application error or a user has accidentally deleted a file on the VM guest OS. Do not enable this option if the problem has occurred at the VM hardware level, storage level or due to a power loss.
For more information on quick rollback, its requirements and limitations, see the Quick Rollback section of the Veeam Backup & Replication User Guide.
Step 4. Specify Destination Settings
The Destination step of the wizard is available if you restore a VM to a new location or with different settings.
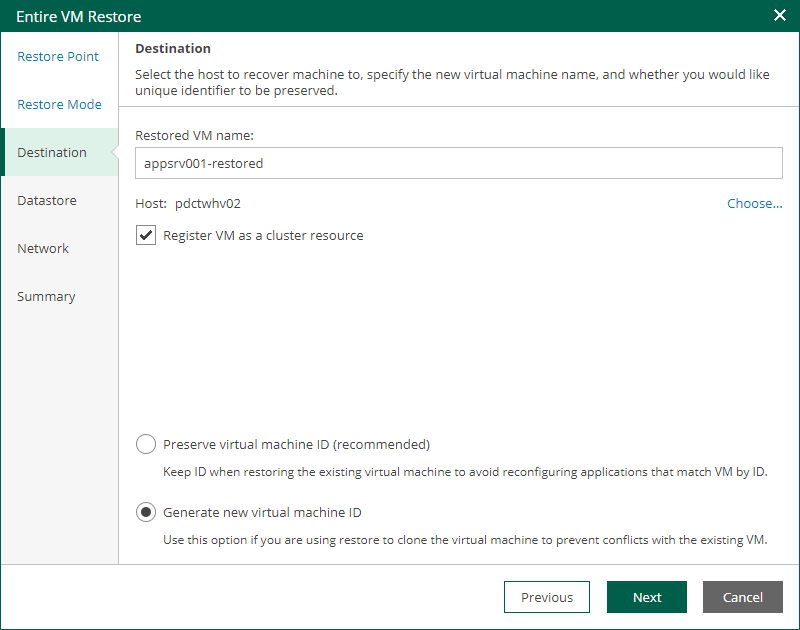
At this step of the wizard, you can specify a name of the restored VM and target host, register the VM as a cluster resource, and generate a new BIOS UUID.
To configure destination settings, do the following:
- In the Restored VM name field, specify a name under which the workload will be restored.
- In the Host field, specify a target host.
- If the specified host is a part of a Hyper-V failover cluster, you can register the restored VM as a cluster resource. In this case, if the target host is brought offline or fails for any reason, the VM will fail over to another node in the cluster. To do this, select the Register VM as a cluster resource check box.
- Choose whether to preserve the BIOS UUID or generate a new BIOS UUID.
If the original VM still resides in the production environment, select the Generate new BIOS UUID option to prevent conflicts. The BIOS UUID change is not required if the original VM no longer exists, for example, if it was deleted.
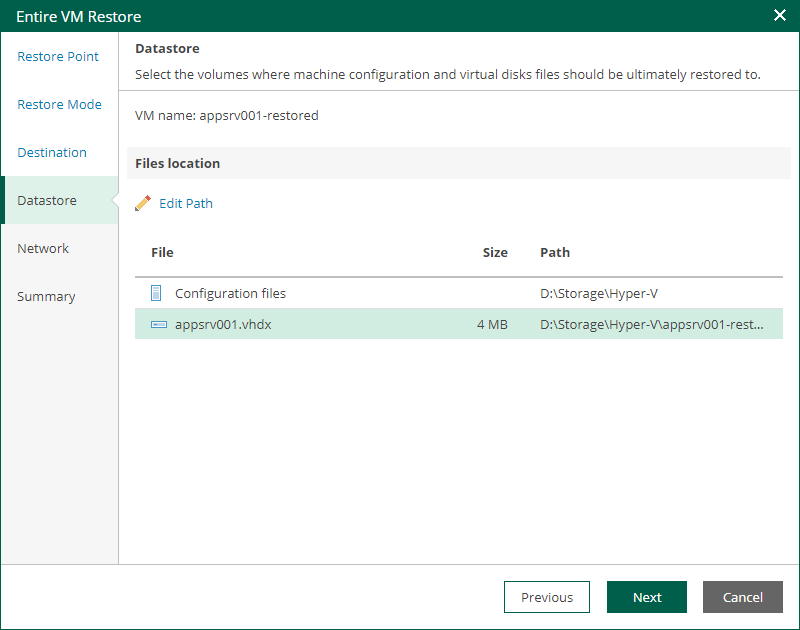
Step 5. Specify Datastore
The Datastore step of the wizard is available if you restore a VM to a new location or with different settings.
At this step of the wizard, you can change default paths where VM configuration files and disk files will be stored.
To change a default path, do the following:
- Select the configuration files or one of the disk files and click Edit Path.
Alternatively, you can double-click a file to edit its path.
- Type in a path to the folder where the files will be stored. You can specify an existing folder, a new folder or an SMB3 shared folder. SMB3 shared folder path must be in the UNC format, for example: \\172.16.11.38\Share01.
- Click OK.
IMPORTANT |
The host or cluster on which you register VMs must have access to the specified SMB3 shared folder. If you are using SCVMM 2012 or later, the server hosting the Microsoft SMB3 shared folder must be registered in SCVMM as a storage device. For more information, see Microsoft Docs. |
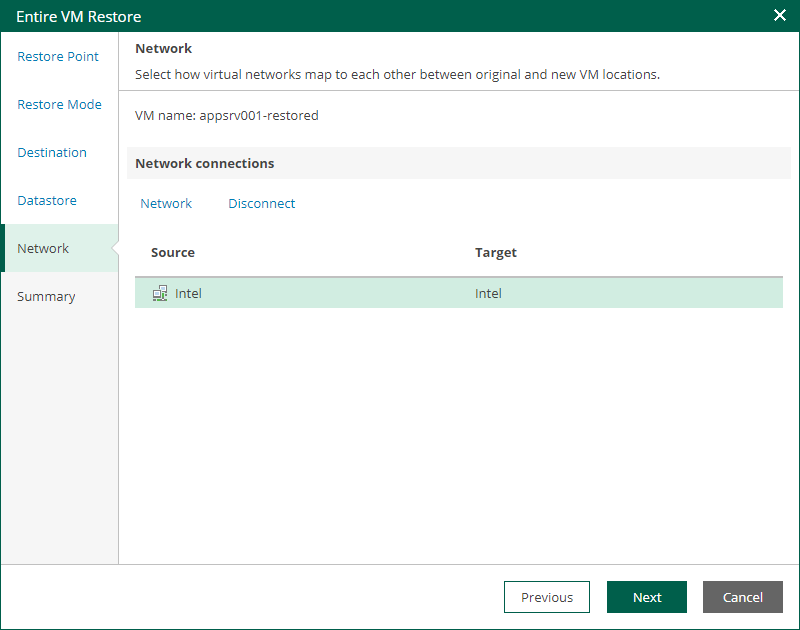
Step 6. Configure Network Mapping
The Network step of the wizard is available if you restore a VM to a new location or with different settings.
At this step of the wizard, you can map a network in the original site to the network in the target site. During the restore process, Veeam Backup & Replication will update VM configuration files to replace the original networks with the specified networks in the target site. As a result, you will not have to re-configure network settings manually.
To change networks to which the restored VM will be connected:
- From the Network connections list, select the necessary network.
- Configure VM network mapping:
- To connect the restored VM to another network, do the following:
- Click Network.
- In the Select Network window, select a necessary network and click OK.
- To disconnect the recovered VM from the network, click Disconnect.
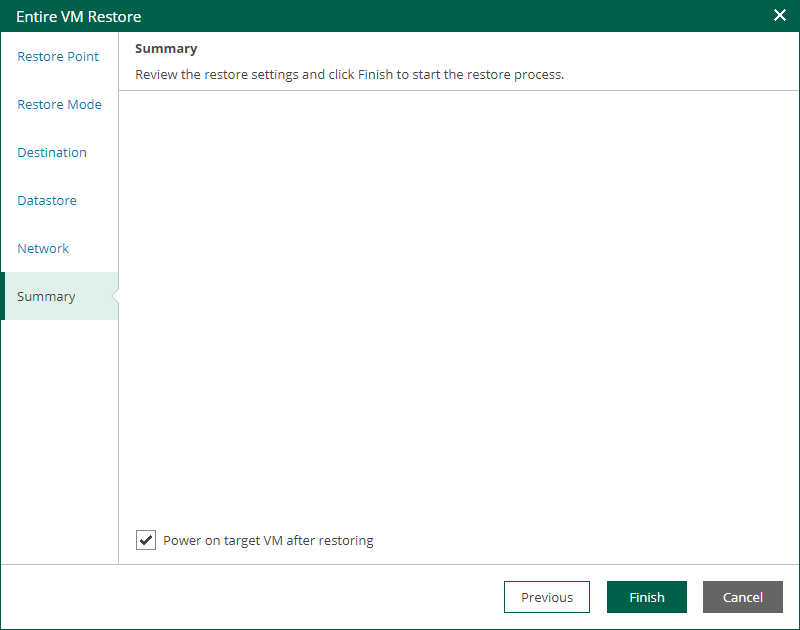
Step 7. Review Restore Settings
At the Summary step of the wizard, check restore settings and click Finish. If you want to start the restored VM on the target host, select the Power on target VM after restoring check box.
To view the restore progress, on the Machines tab, click History.


0 Nhận xét